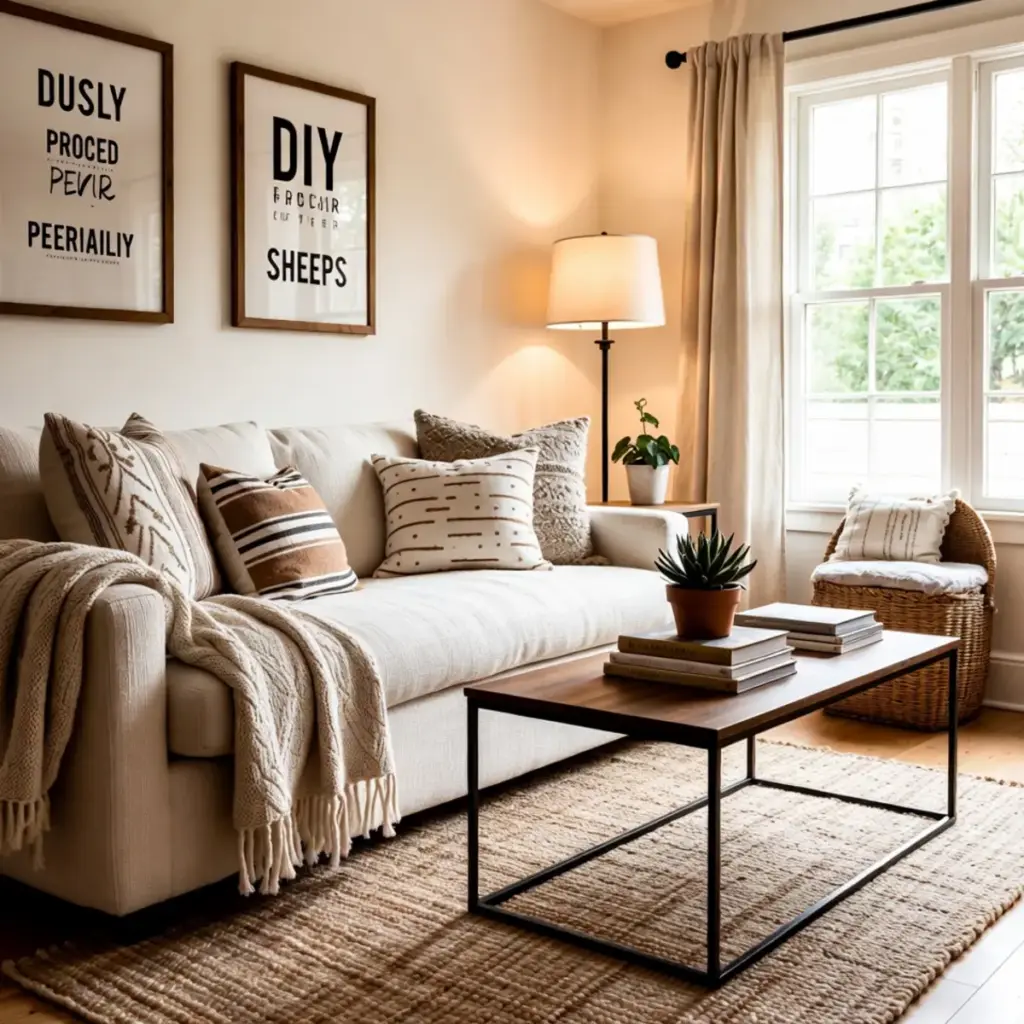
Looking to refresh your living space without emptying your wallet? Home decor doesn’t have to be an expensive affair, and with a bit of creativity, you can transform your home in just a weekend. DIY home decor ideas not only allow you to showcase your personality but also offer a satisfying sense of accomplishment. Whether you’re a seasoned crafter or a novice, there’s something incredibly rewarding about creating pieces that are unique and tailored to your taste.
In a world where mass-produced items often flood the market, taking the time to craft your own decor can breathe life into any room. From sentimental wall hangings to sleek furniture makeovers, DIY projects can serve as a focal point or a subtle enhancement to your existing decor. Doing it yourself also means you have full control over the colors and materials you use, ensuring that every piece is a true reflection of your style.
This article will guide you through 10 inspiring DIY home decor projects you can accomplish over a weekend. Each idea is designed not only to elevate your space but also to encourage creativity and resourcefulness. So roll up your sleeves, grab your tools, and let’s get started on some weekend decor magic!
1. Create a Macrame Wall Hanging
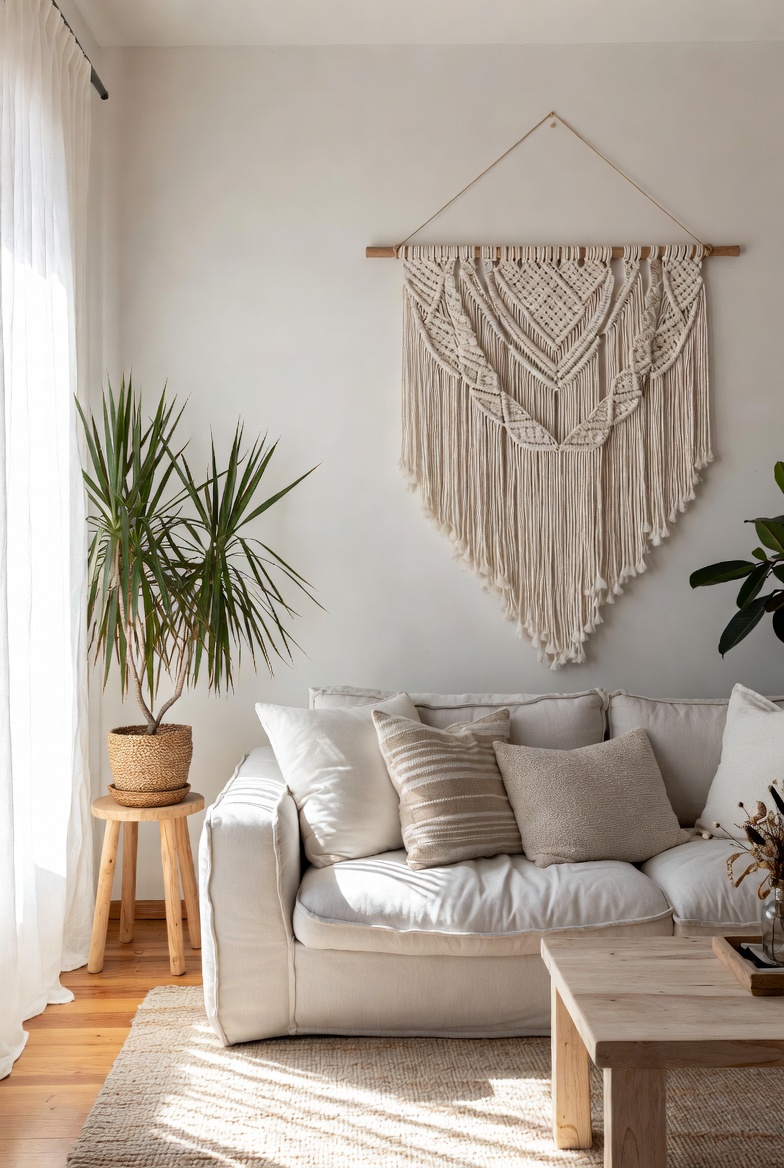
Macrame wall hangings have made a significant comeback in home decor, offering a chic way to introduce texture and warmth to your walls. This project is perfect for both beginners and experienced crafters looking to explore different knot techniques and color combinations to design a personalized wall piece. Plus, it’s an excellent way to utilize leftover cords or yarn you might already have at home.
- Experiment with various knot techniques like square knots and lark’s head knots for different textures.
- Incorporate a mix of colors that coordinate with your room’s palette, such as earthy tones for a rustic feel.
- Choose the right size—make sure it complements the wall space without overwhelming the area.
- Consider adding elements like beads or driftwood to enhance the design and give it a unique touch.
- Hang your finished piece above a sofa or bed for an eye-catching focal point.
2. Transform Old Furniture with Chalk Paint
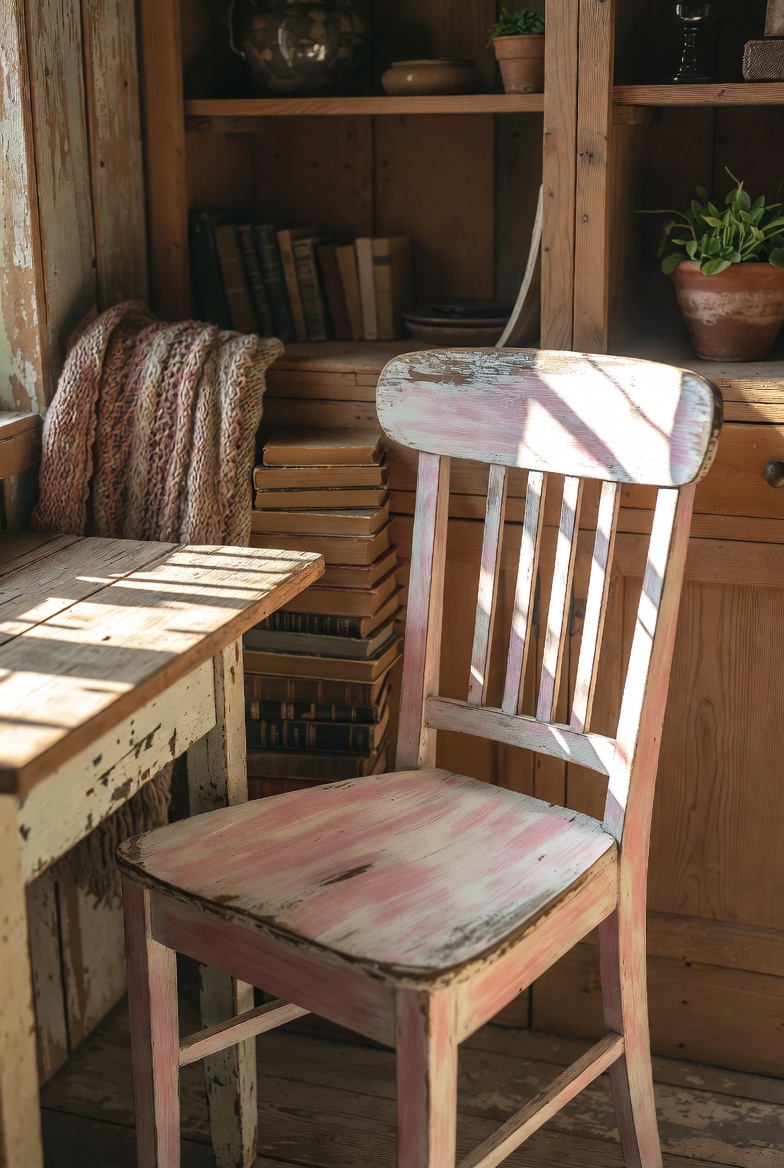
Your old furniture likely has a story to tell, and with a little chalk paint, you can give it a new lease on life. This easy-to-use paint creates a matte finish that can instantly modernize and personalize any piece. Before diving into your furniture makeover, it’s essential to pick the right pieces that will benefit from a fresh coat. Items like side tables, wooden chairs, or dressers can be ideal candidates.
- Select a color that complements your existing decor—think pastels for a soft touch or vibrant shades for a pop.
- Don’t skip the prep work! Clean and lightly sand the surface to ensure the paint adheres well.
- Apply a primer if painting over dark wood to avoid unsightly stains showing through your finish.
- Consider distressing the edges after painting for a charming vintage look.
- Finish with a protective wax or clear coat to preserve the beauty of your work.
3. Build a Custom Floating Shelf

Floating shelves are not only functional but also an aesthetic addition to any room. They can display your favorite knick-knacks, plants, or books while freeing up floor space. Building a custom floating shelf allows you to tailor the size and finish to suit your specific decor needs. When selecting your materials, consider both the weight of the items you plan to display and the overall design of your room.
- Use sturdy wood like pine or oak for strength; reclaimed wood adds a rustic charm.
- Plan the size! A long shelf can serve as a display area, while a smaller one can create a cozy vignette.
- Ensure proper wall anchors are used for installation, especially if you’ll be displaying heavier items.
- Stain or paint the shelf to complement your existing furniture finishes and color scheme.
- Create visual interest by layering your items at varying heights for a more dynamic display.
4. Design a Statement Plant Stand
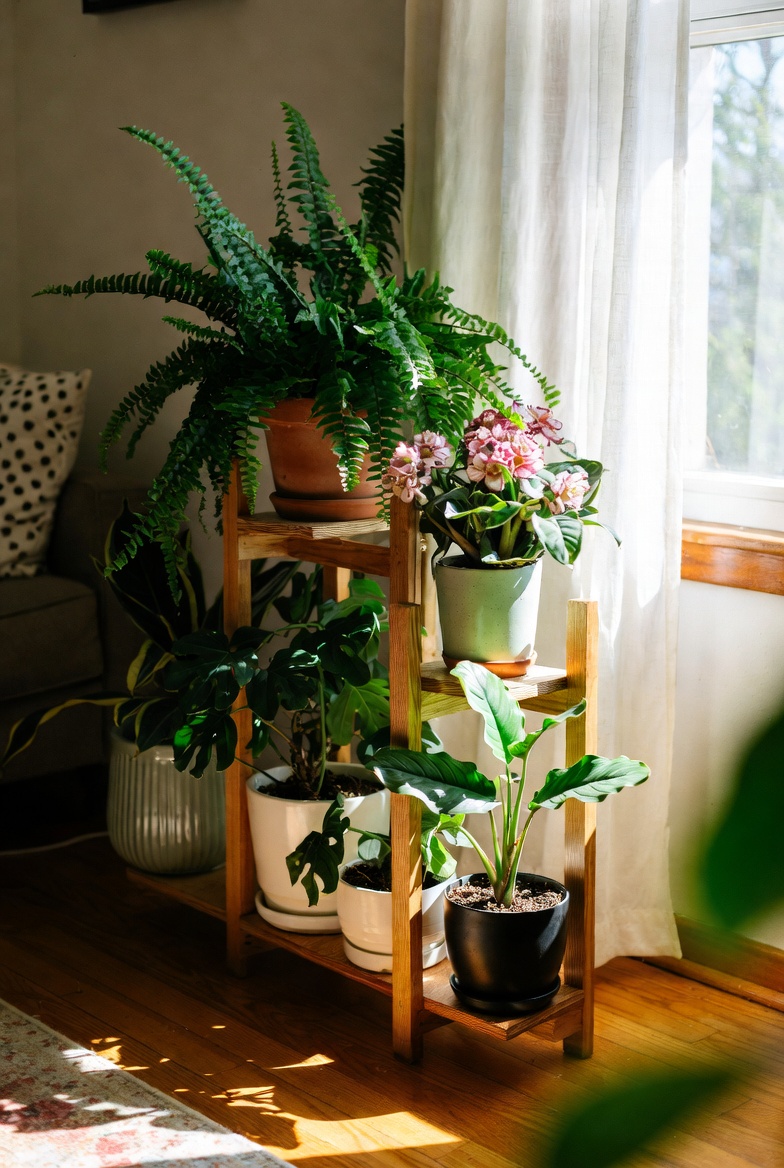
Plants offer life and freshness to any space, and a stylish plant stand can elevate their presence in your home. Rather than purchasing a generic stand, why not design your own? By utilizing repurposed materials such as old crates or even plumbing pipes, you can create a one-of-a-kind accent piece that showcases your green friends while enhancing your decor.
- Use materials like reclaimed wood for a rustic style or metal for a modern look.
- Incorporate multiple levels to create visual variety and house different types of plants.
- Make sure your stand complements your other furnishings—matching colors can unify the space.
- Select your plant varieties based on desired height and light requirements; tall plants can help draw the eye upward.
- Decorate the base or shelves with stones or moss for a cohesive, natural look.
5. Make Your Own Candle Holders
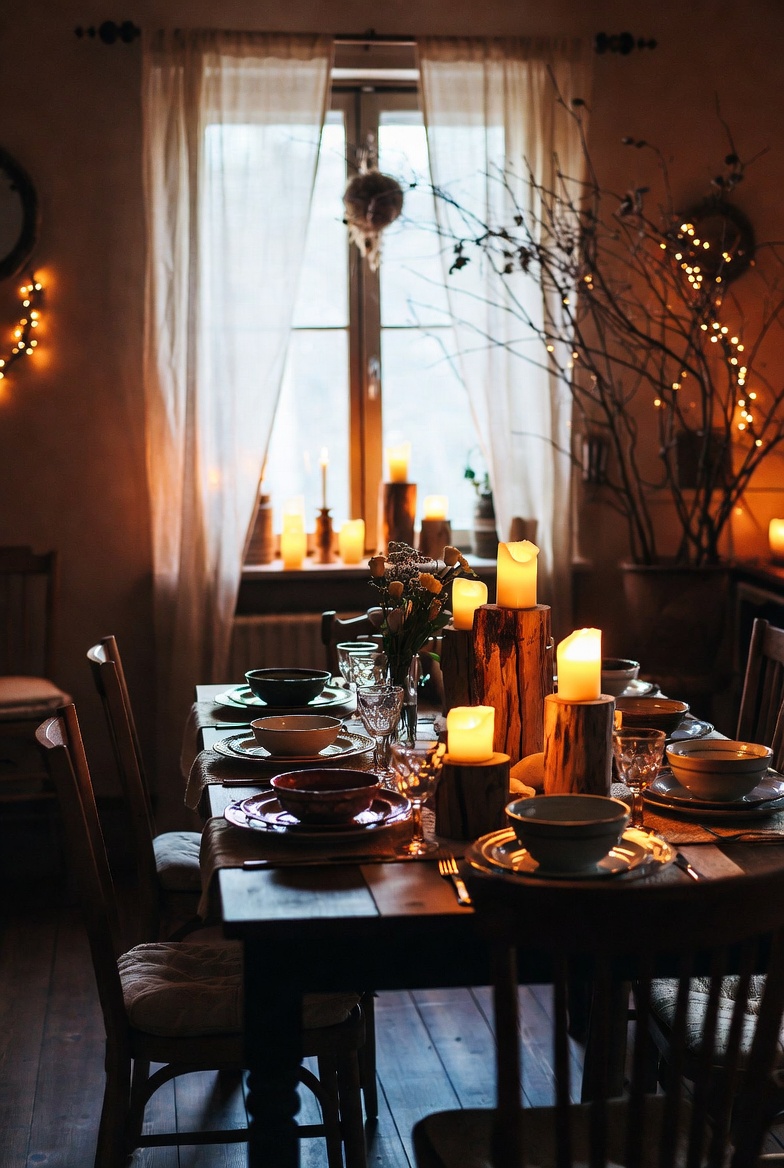
Candle holders can set the mood in any room, providing both functional lighting and decorative flair. Making your own allows you to craft pieces that fit your style precisely. With materials like wood or clay, you can get hands-on and create unique holders that accentuate your décor while also being practical.
- Choose your material: wood offers warmth while clay provides versatility in form and color.
- For wooden holders, try using offcuts or branches for a rustic vibe; sand them down for a smooth finish.
- Experiment with different shapes—cylindrical, geometric, or even sculptural forms can create dramatic effects.
- Add paint or stain to match your decor, and consider sealing it for durability.
- Accessorize with decorative elements like twine, glass beads, or dried flowers for additional texture.
6. Personalize Throw Pillows with Fabric Paint
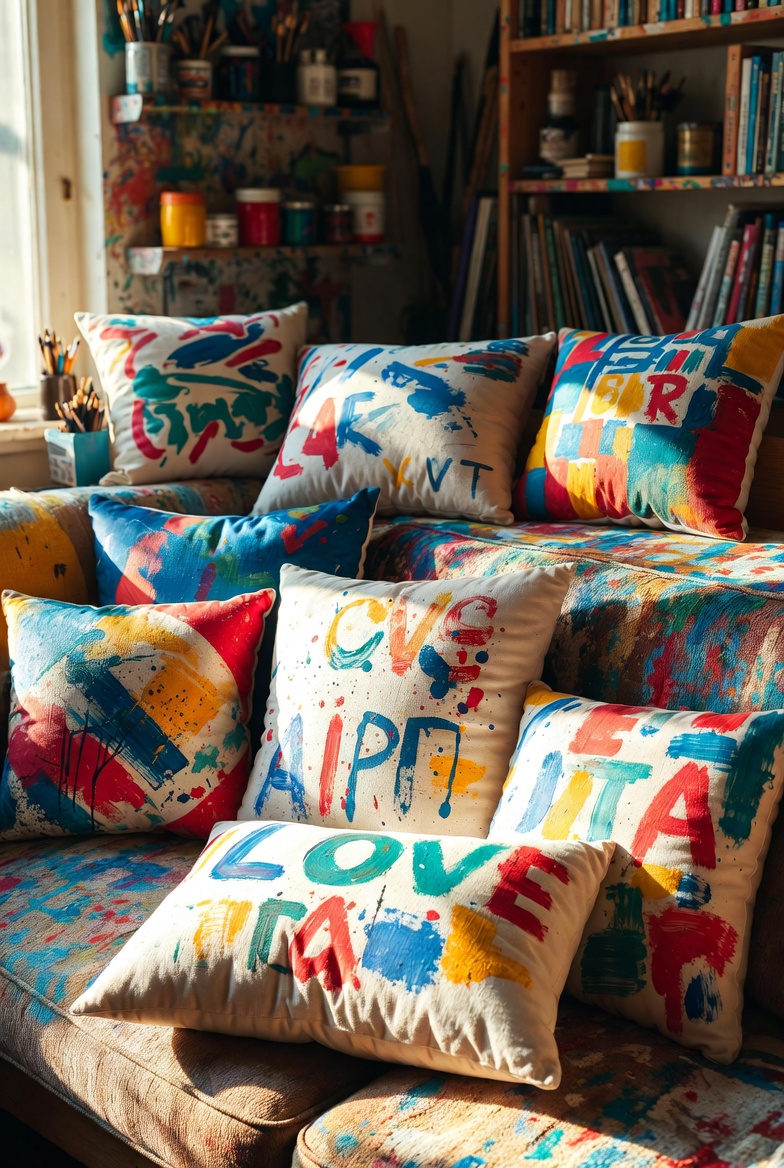
Elevate your home decor with personalized throw pillows that reflect your style. Fabric painting can turn plain, uninspiring cushions into vibrant, eye-catching statements. Begin by selecting solid-color pillows in complementary shades to your existing decor. Next, gather some fabric paint, stencils, and brushes to unleash your creativity.
- Use stencils to create geometric designs or intricate patterns for a modern look.
- Experiment with multiple colors to create a layered effect or an ombre finish.
- Add your initials or a meaningful quote to make the pillows uniquely yours.
- Combine patterns by painting different sections of the pillow for a playful aesthetic.
- Let your kids join in the fun by allowing them to create their own designs, making it a family project!
7. Create an Accent Gallery Wall
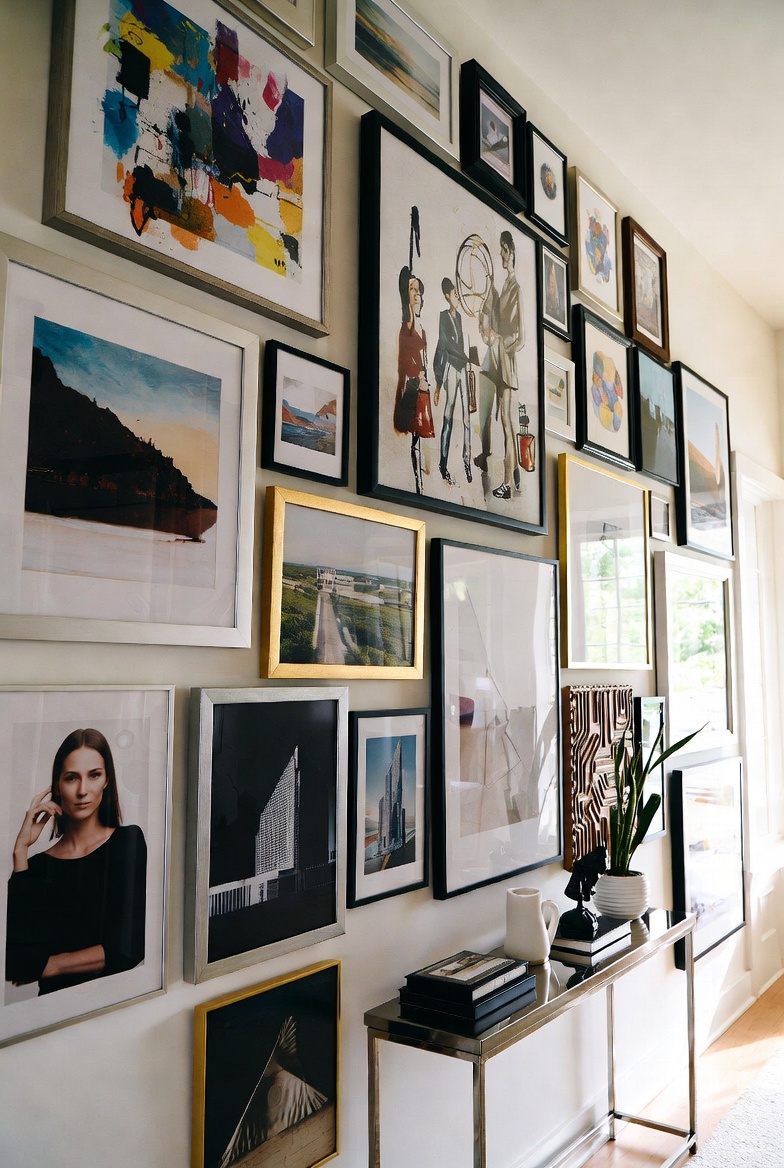
A gallery wall can infuse life and personality into any room. To start, gather a collection of artwork, photographs, and wall decor that resonates with your style. Consider a mix of frame sizes and styles to create visual interest while maintaining a cohesive color palette.
- Choose a unifying theme, such as black-and-white photography or pastel watercolor art.
- Plan your layout on the floor before hanging pieces to visualize spacing and arrangement.
- Incorporate three-dimensional pieces, such as decorative shelves or small sculptures, to add depth.
- Don’t shy away from negative space; leaving some wall visible can help the eye rest between pieces.
- Use painter’s tape on the wall to outline where each frame will go to ensure perfect alignment.
8. Upcycle Glass Jars into Storage Solutions
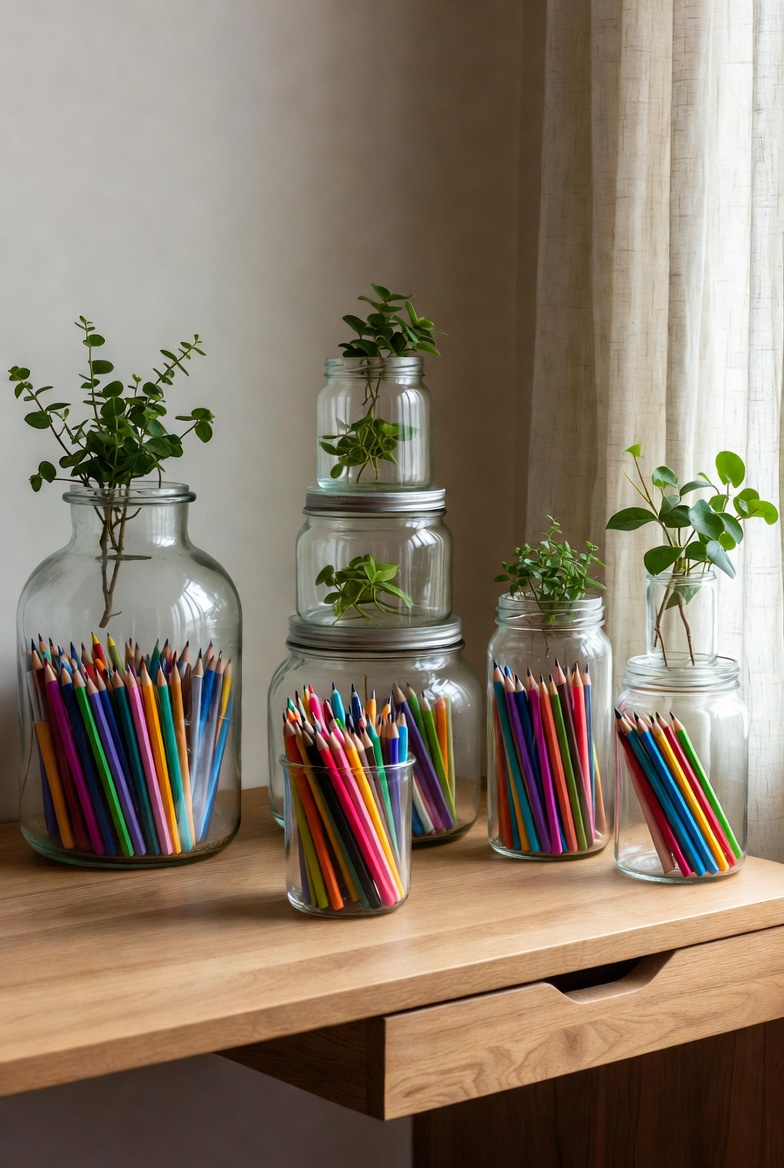
Transform simple glass jars into chic storage solutions that not only organize but also beautify your space. Start by cleaning any jars you have on hand—mason jars, old candle holders, or even pasta jars can work beautifully. You can customize them with paint, twine, or decorative paper to fit your aesthetic.
- Paint jars in colors that complement your kitchen or bathroom decor for cohesive storage.
- Wrap jars with jute twine for a rustic feel, perfect for a farmhouse-inspired kitchen.
- Add labels for easy identification, enhancing functionality and a polished look.
- Use the jars to hold everything from spices to craft supplies, maximizing storage space.
- Stack smaller jars in larger ones to save space on your shelves while showcasing your creativity.
9. Refresh Your Space with DIY Art
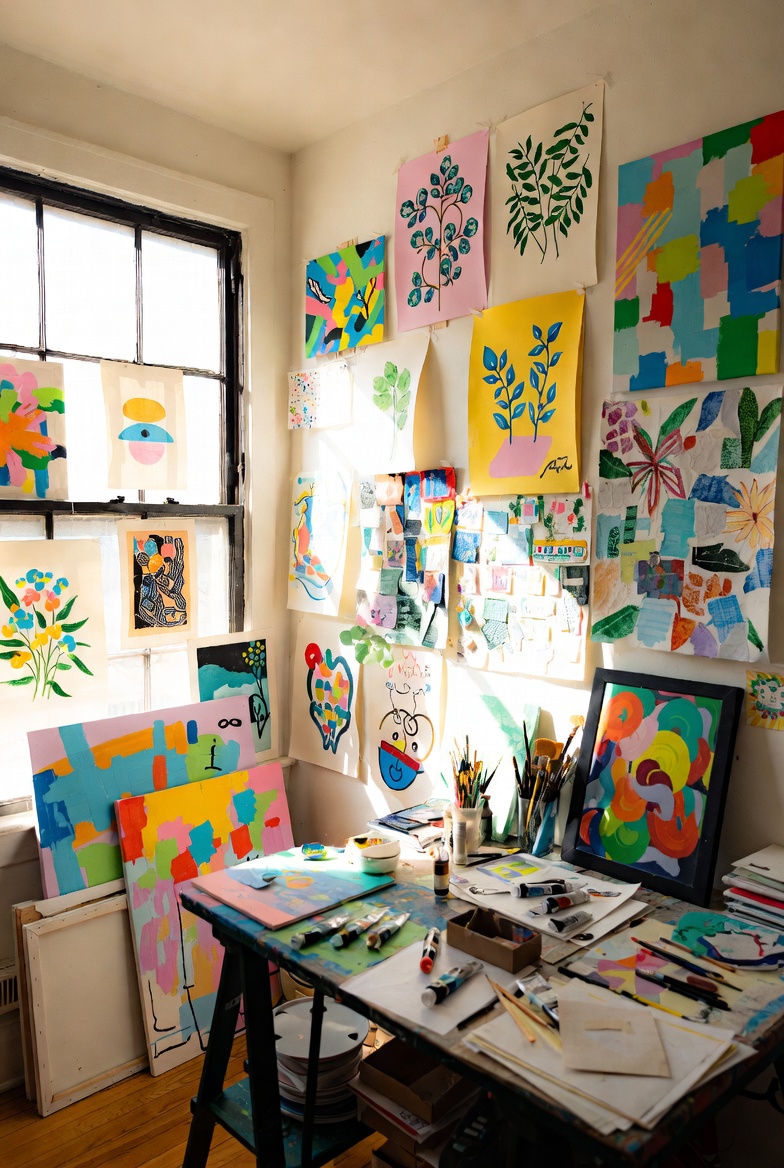
Creating your own art can breathe new life into your walls while allowing you to express yourself. Start by selecting a few canvases or wooden boards and gather some supplies like paints, brushes, and mixed media materials such as fabric scraps or paper cutouts. The beauty of DIY art lies in its limitless possibilities.
- Try creating a mixed-media piece that combines photography and painting for a modern twist.
- Utilize a color palette that complements your existing decor to create harmony in your space.
- Incorporate personal photographs as part of your artwork to make it even more meaningful.
- Experiment with different techniques like sponge painting, stenciling, or pouring for unique effects.
- Consider creating a series of smaller pieces to form a cohesive collection on a larger wall.
10. Craft a Cozy Rug from Old Fabrics
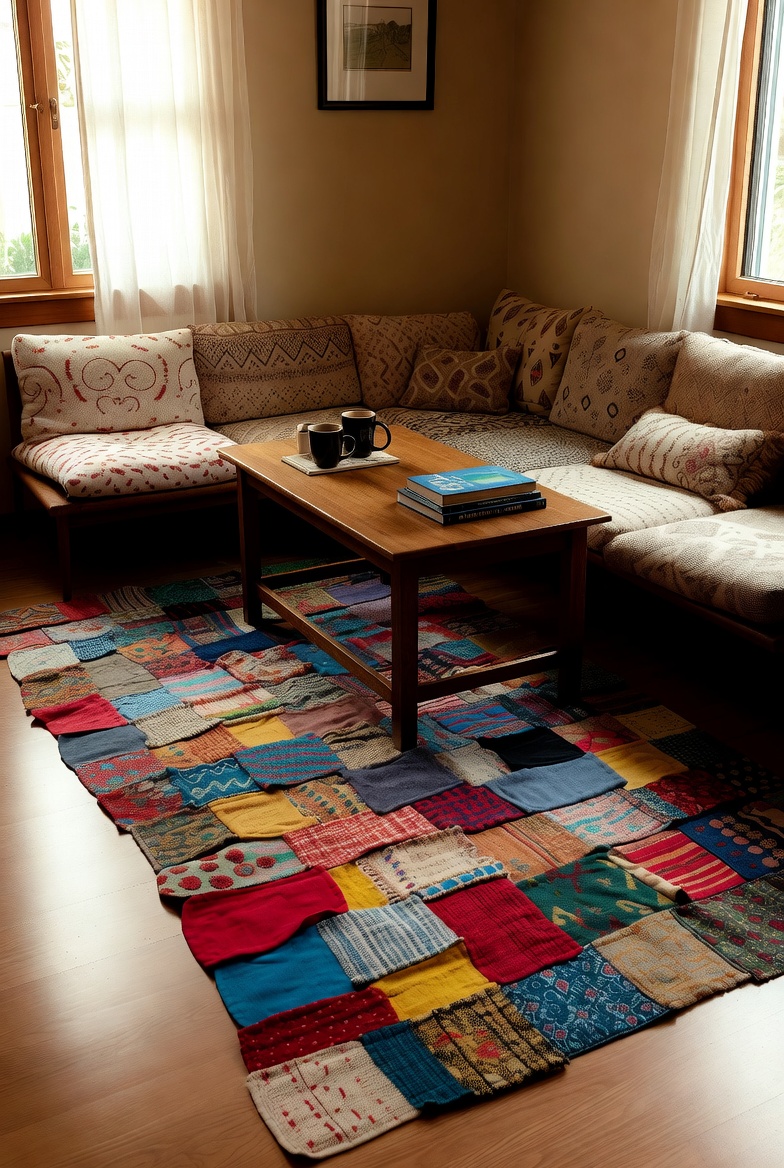
Give those old fabric scraps a second life by creating a cozy rug that adds warmth to your flooring. This project involves cutting different fabrics into strips and either braiding or weaving them together. Not only is this a sustainable option, but it also allows for a personal touch that perfectly suits your home’s design.
- Choose a mixture of textures and patterns that complement your room’s color scheme and decor style.
- Layer fabric strips for added warmth and dimension; consider soft materials like flannel or fleece.
- Use a non-slip rug pad underneath to ensure safety and keep the rug in place.
- Incorporate old linens or t-shirts for a soft, unique design that tells a story.
- Finishing edges with fringes or binding can elevate the overall look and give it a professional finish.
With just a weekend to spare, these DIY home decor ideas can transform your space while also letting your creativity shine. Whether you choose to paint, arrange, or weave, each project brings a unique touch that reflects your personality. So roll up your sleeves and get crafting—your dream home awaits!